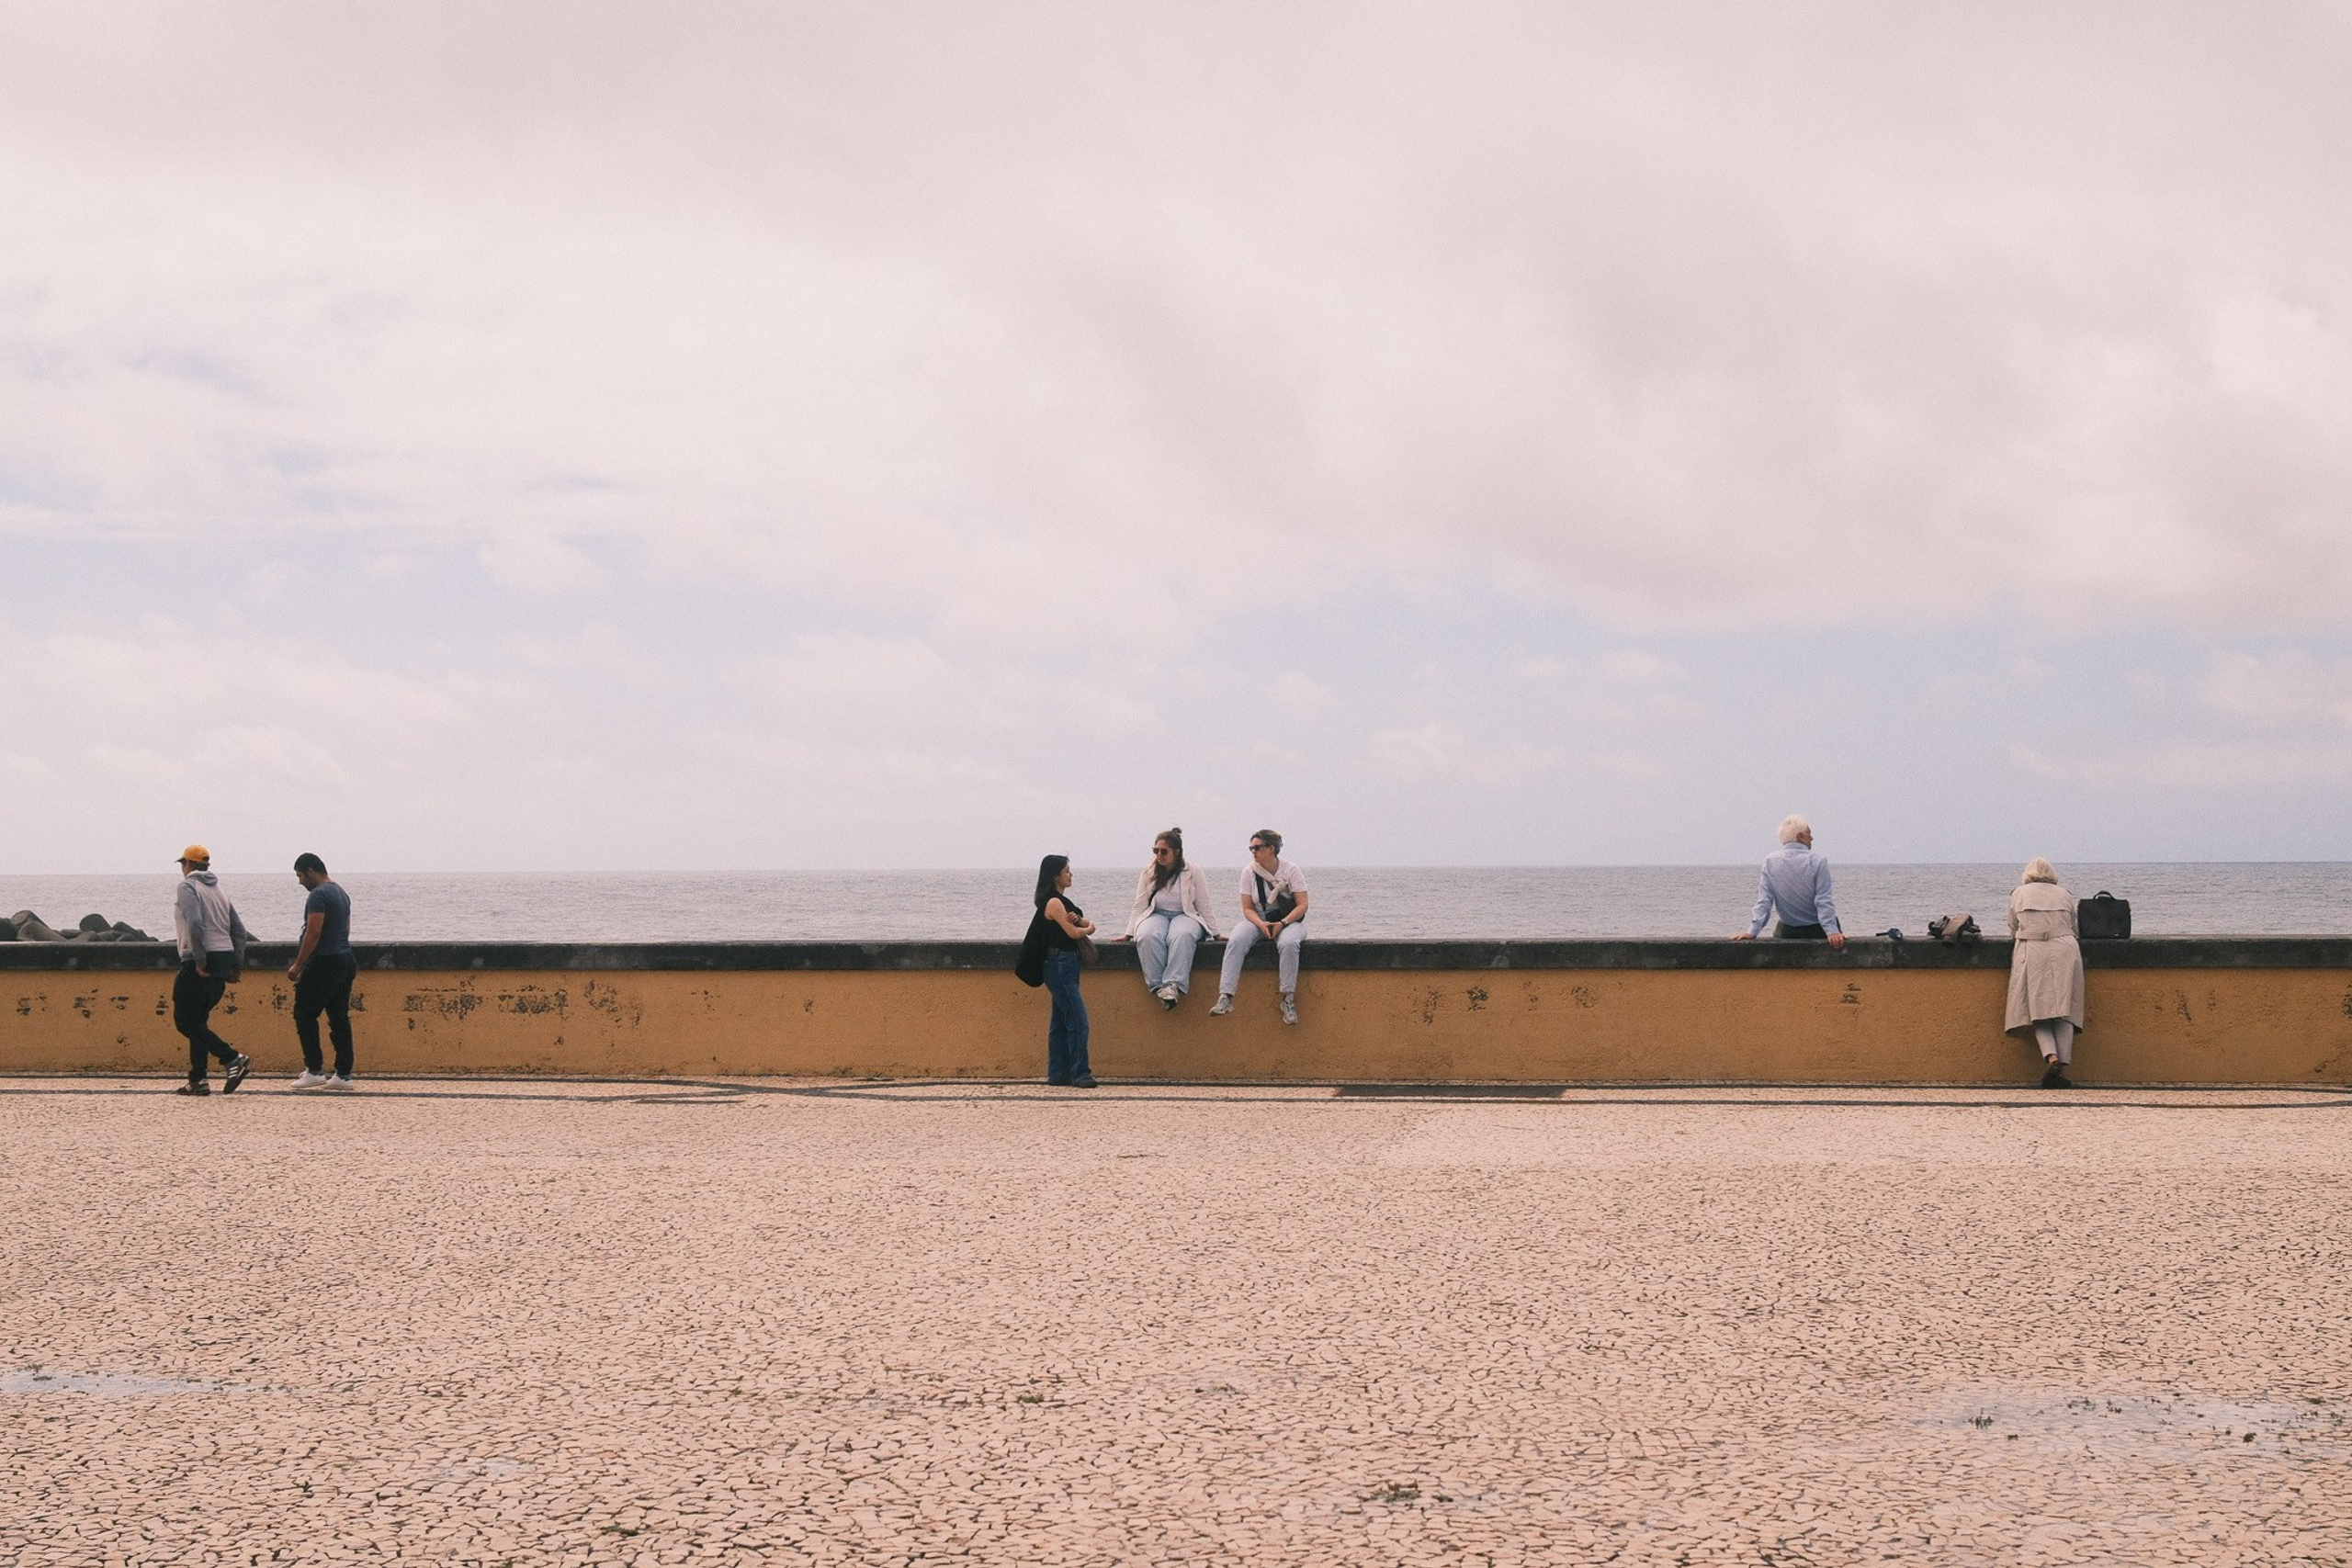
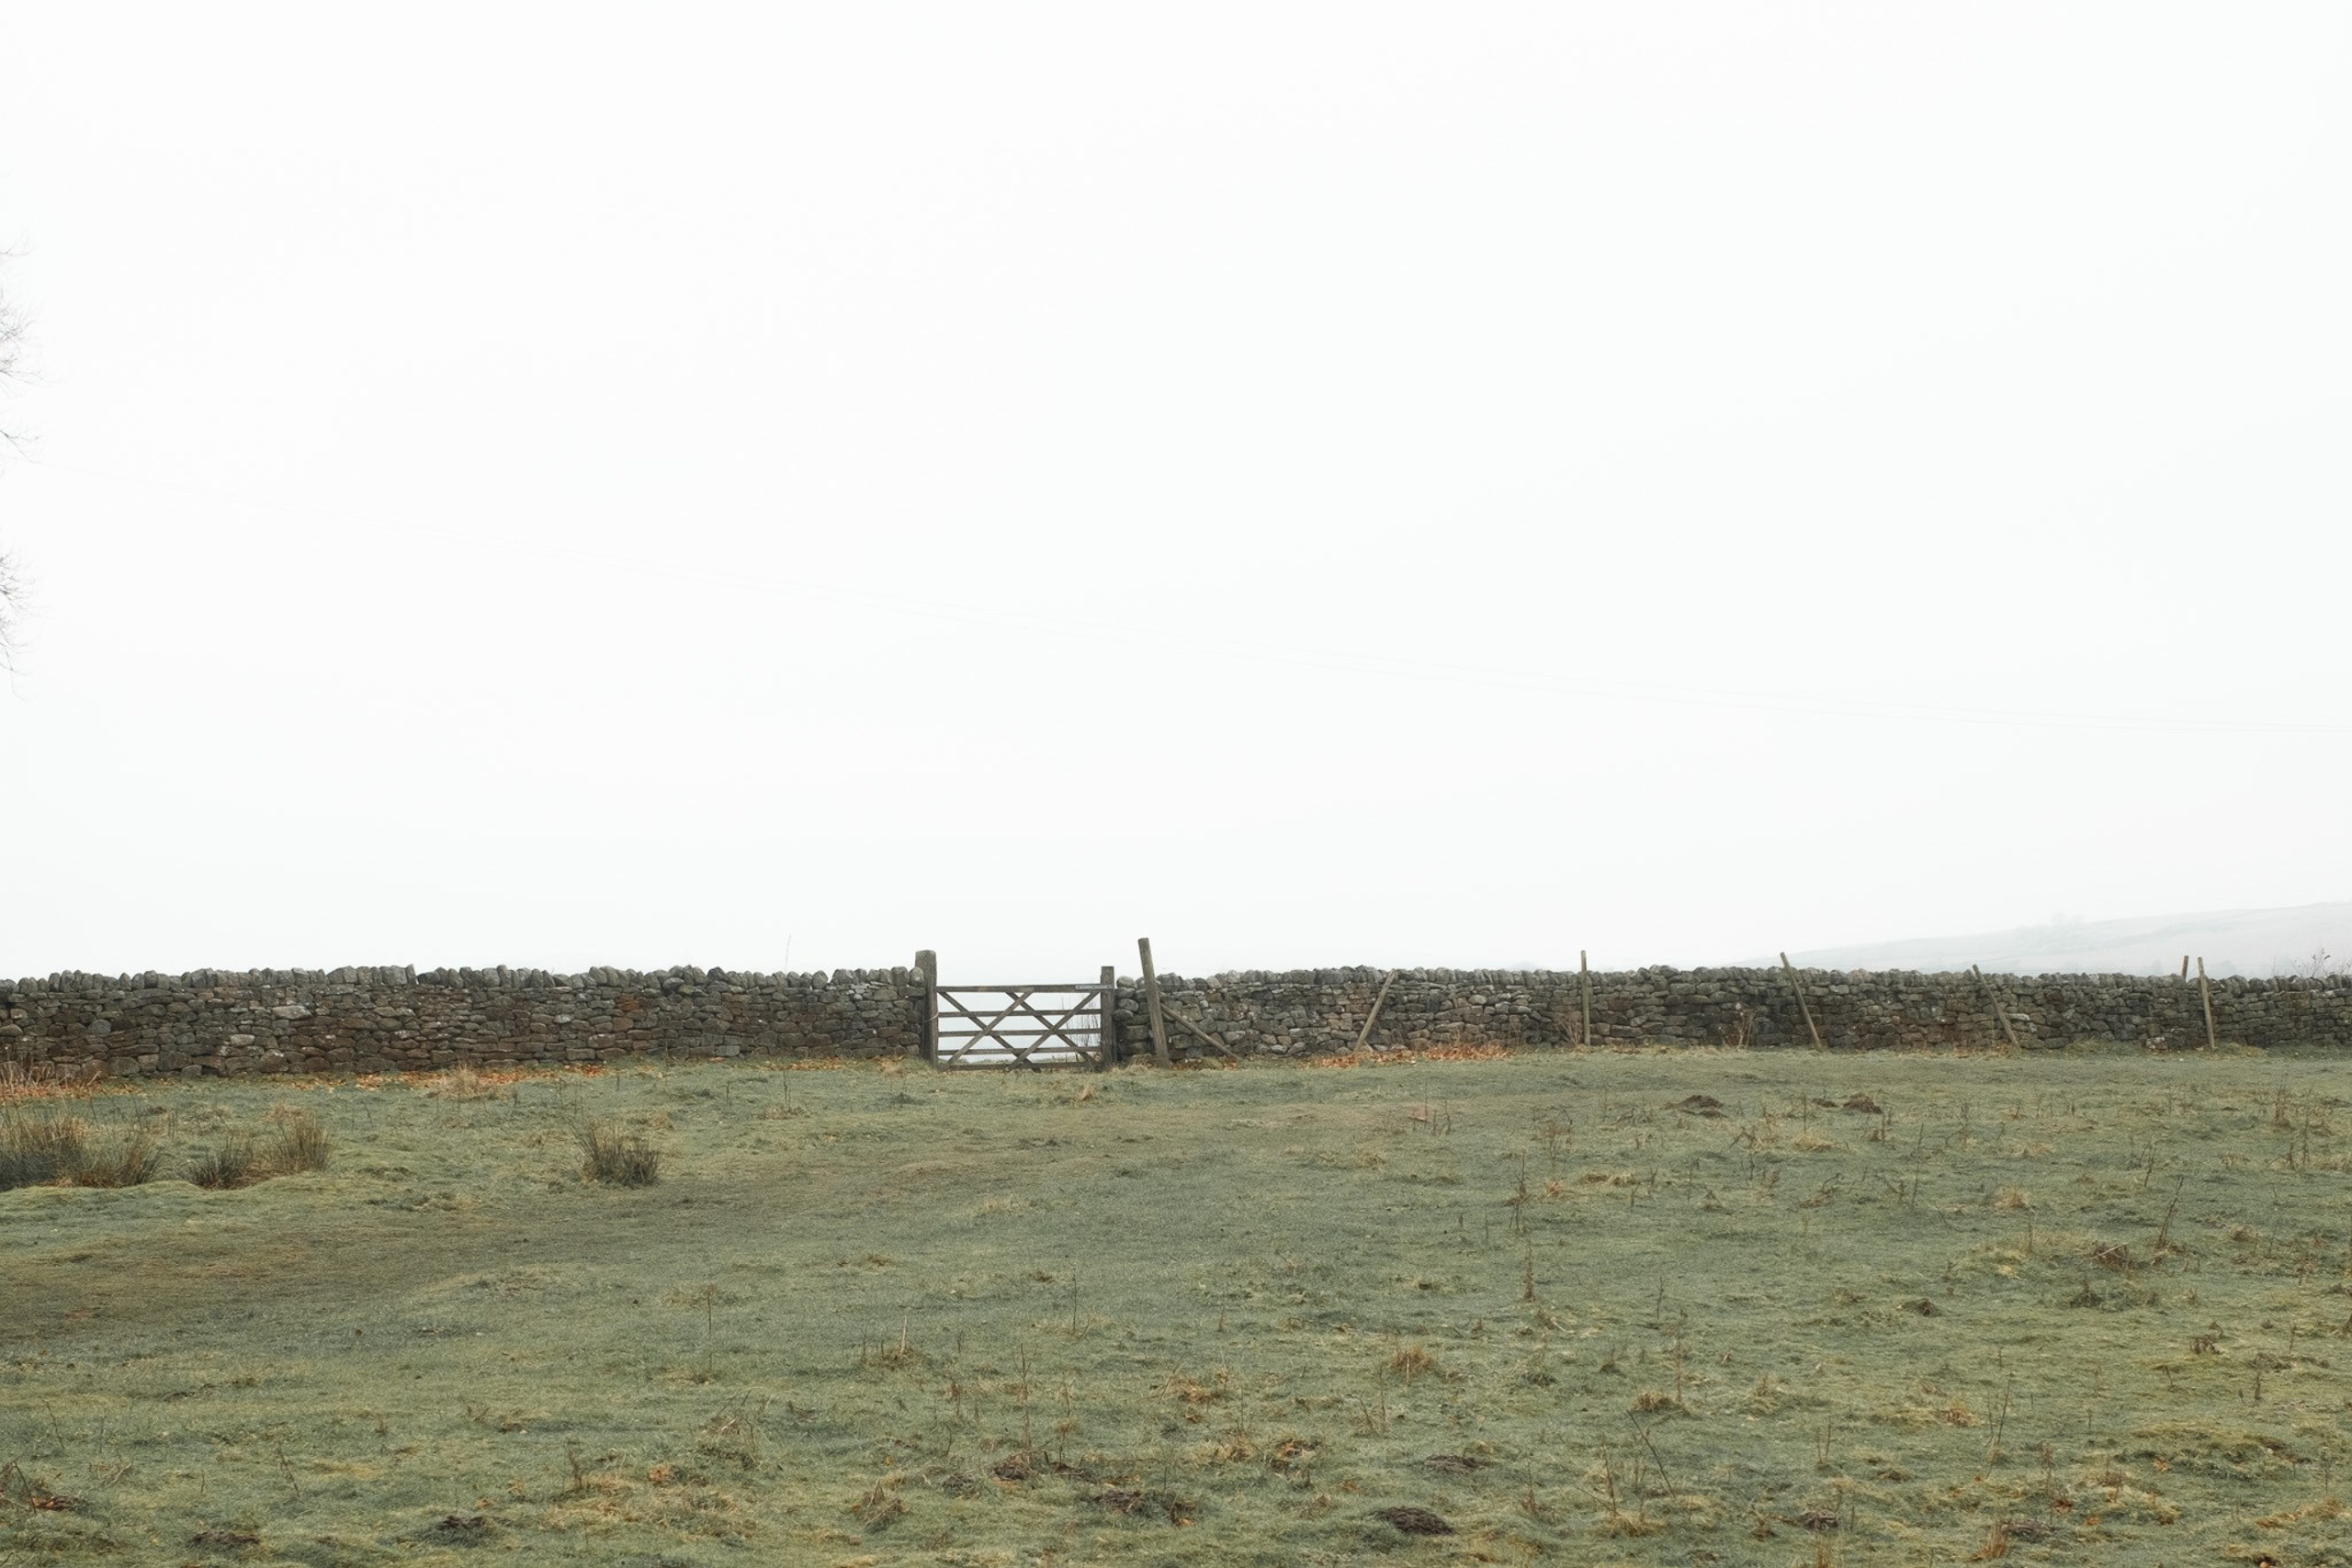
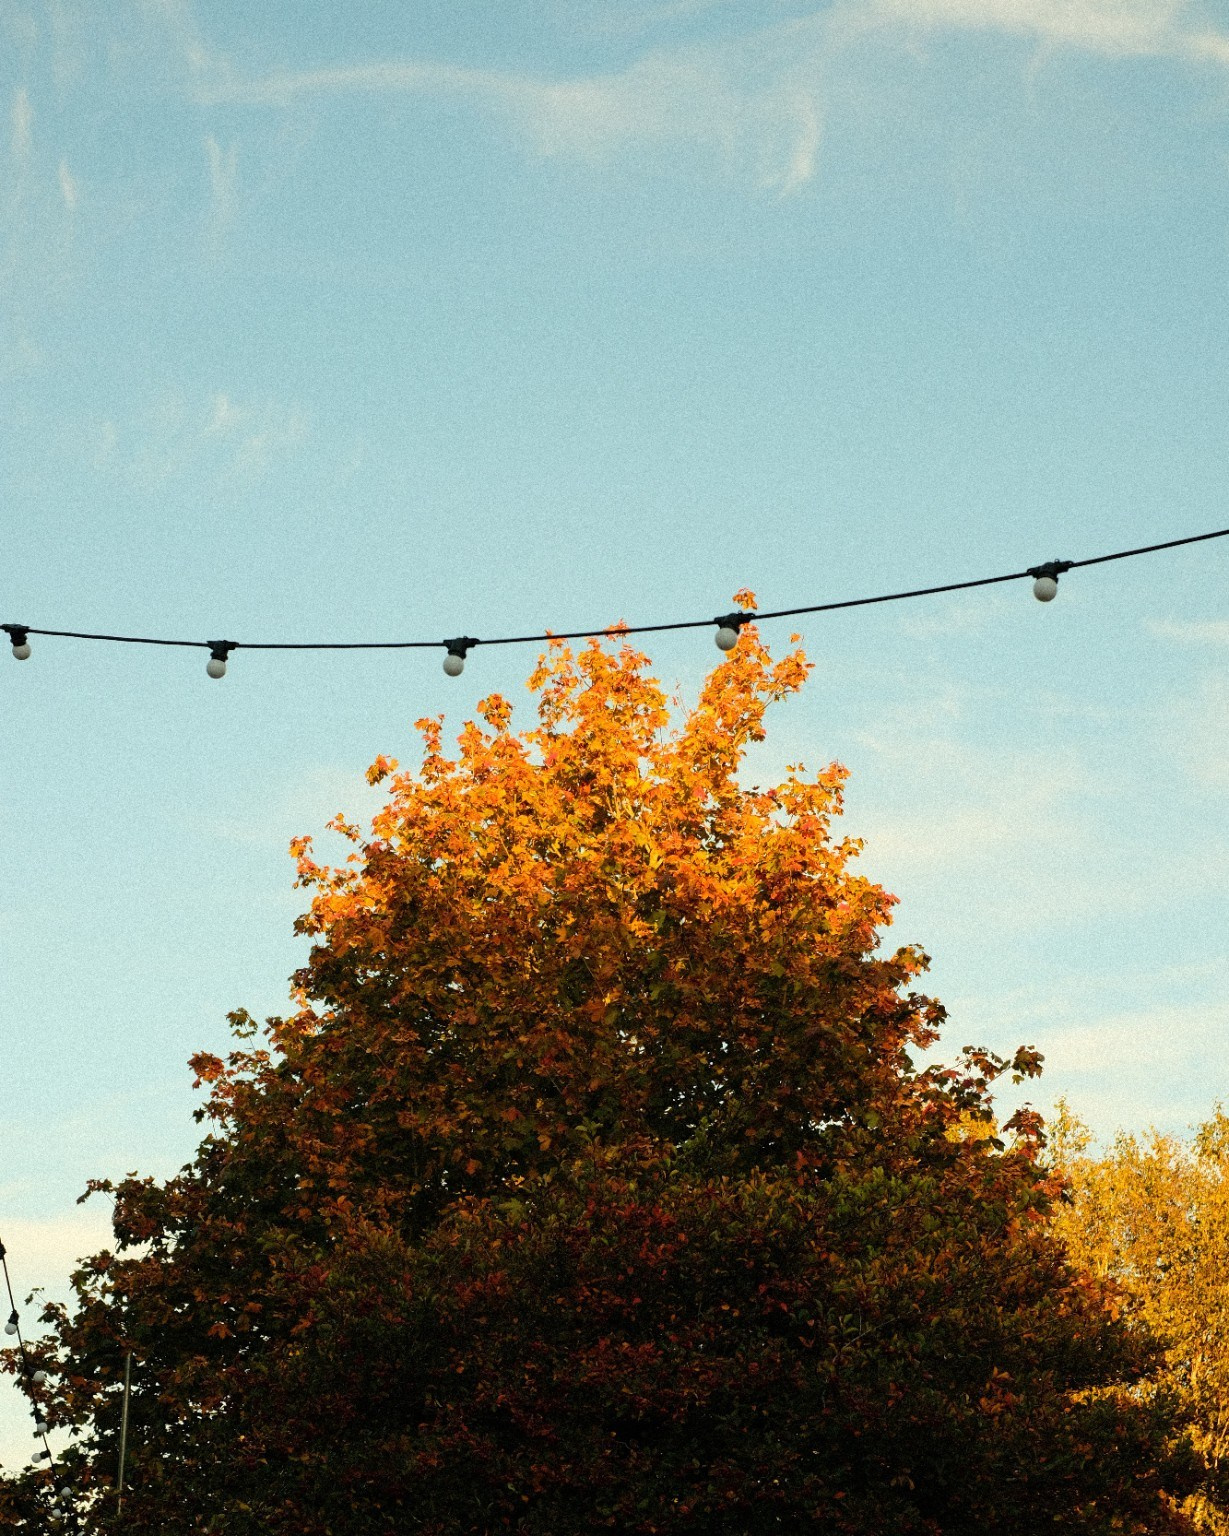
This Provia Slide Fujifilm recipe gives the X-Pro2 a stronger colour look, with warm reds, deep greens and autumn leaves that carry through the whole set. These photos show it across shopfronts, quieter back streets and small details rather than one type of subject.
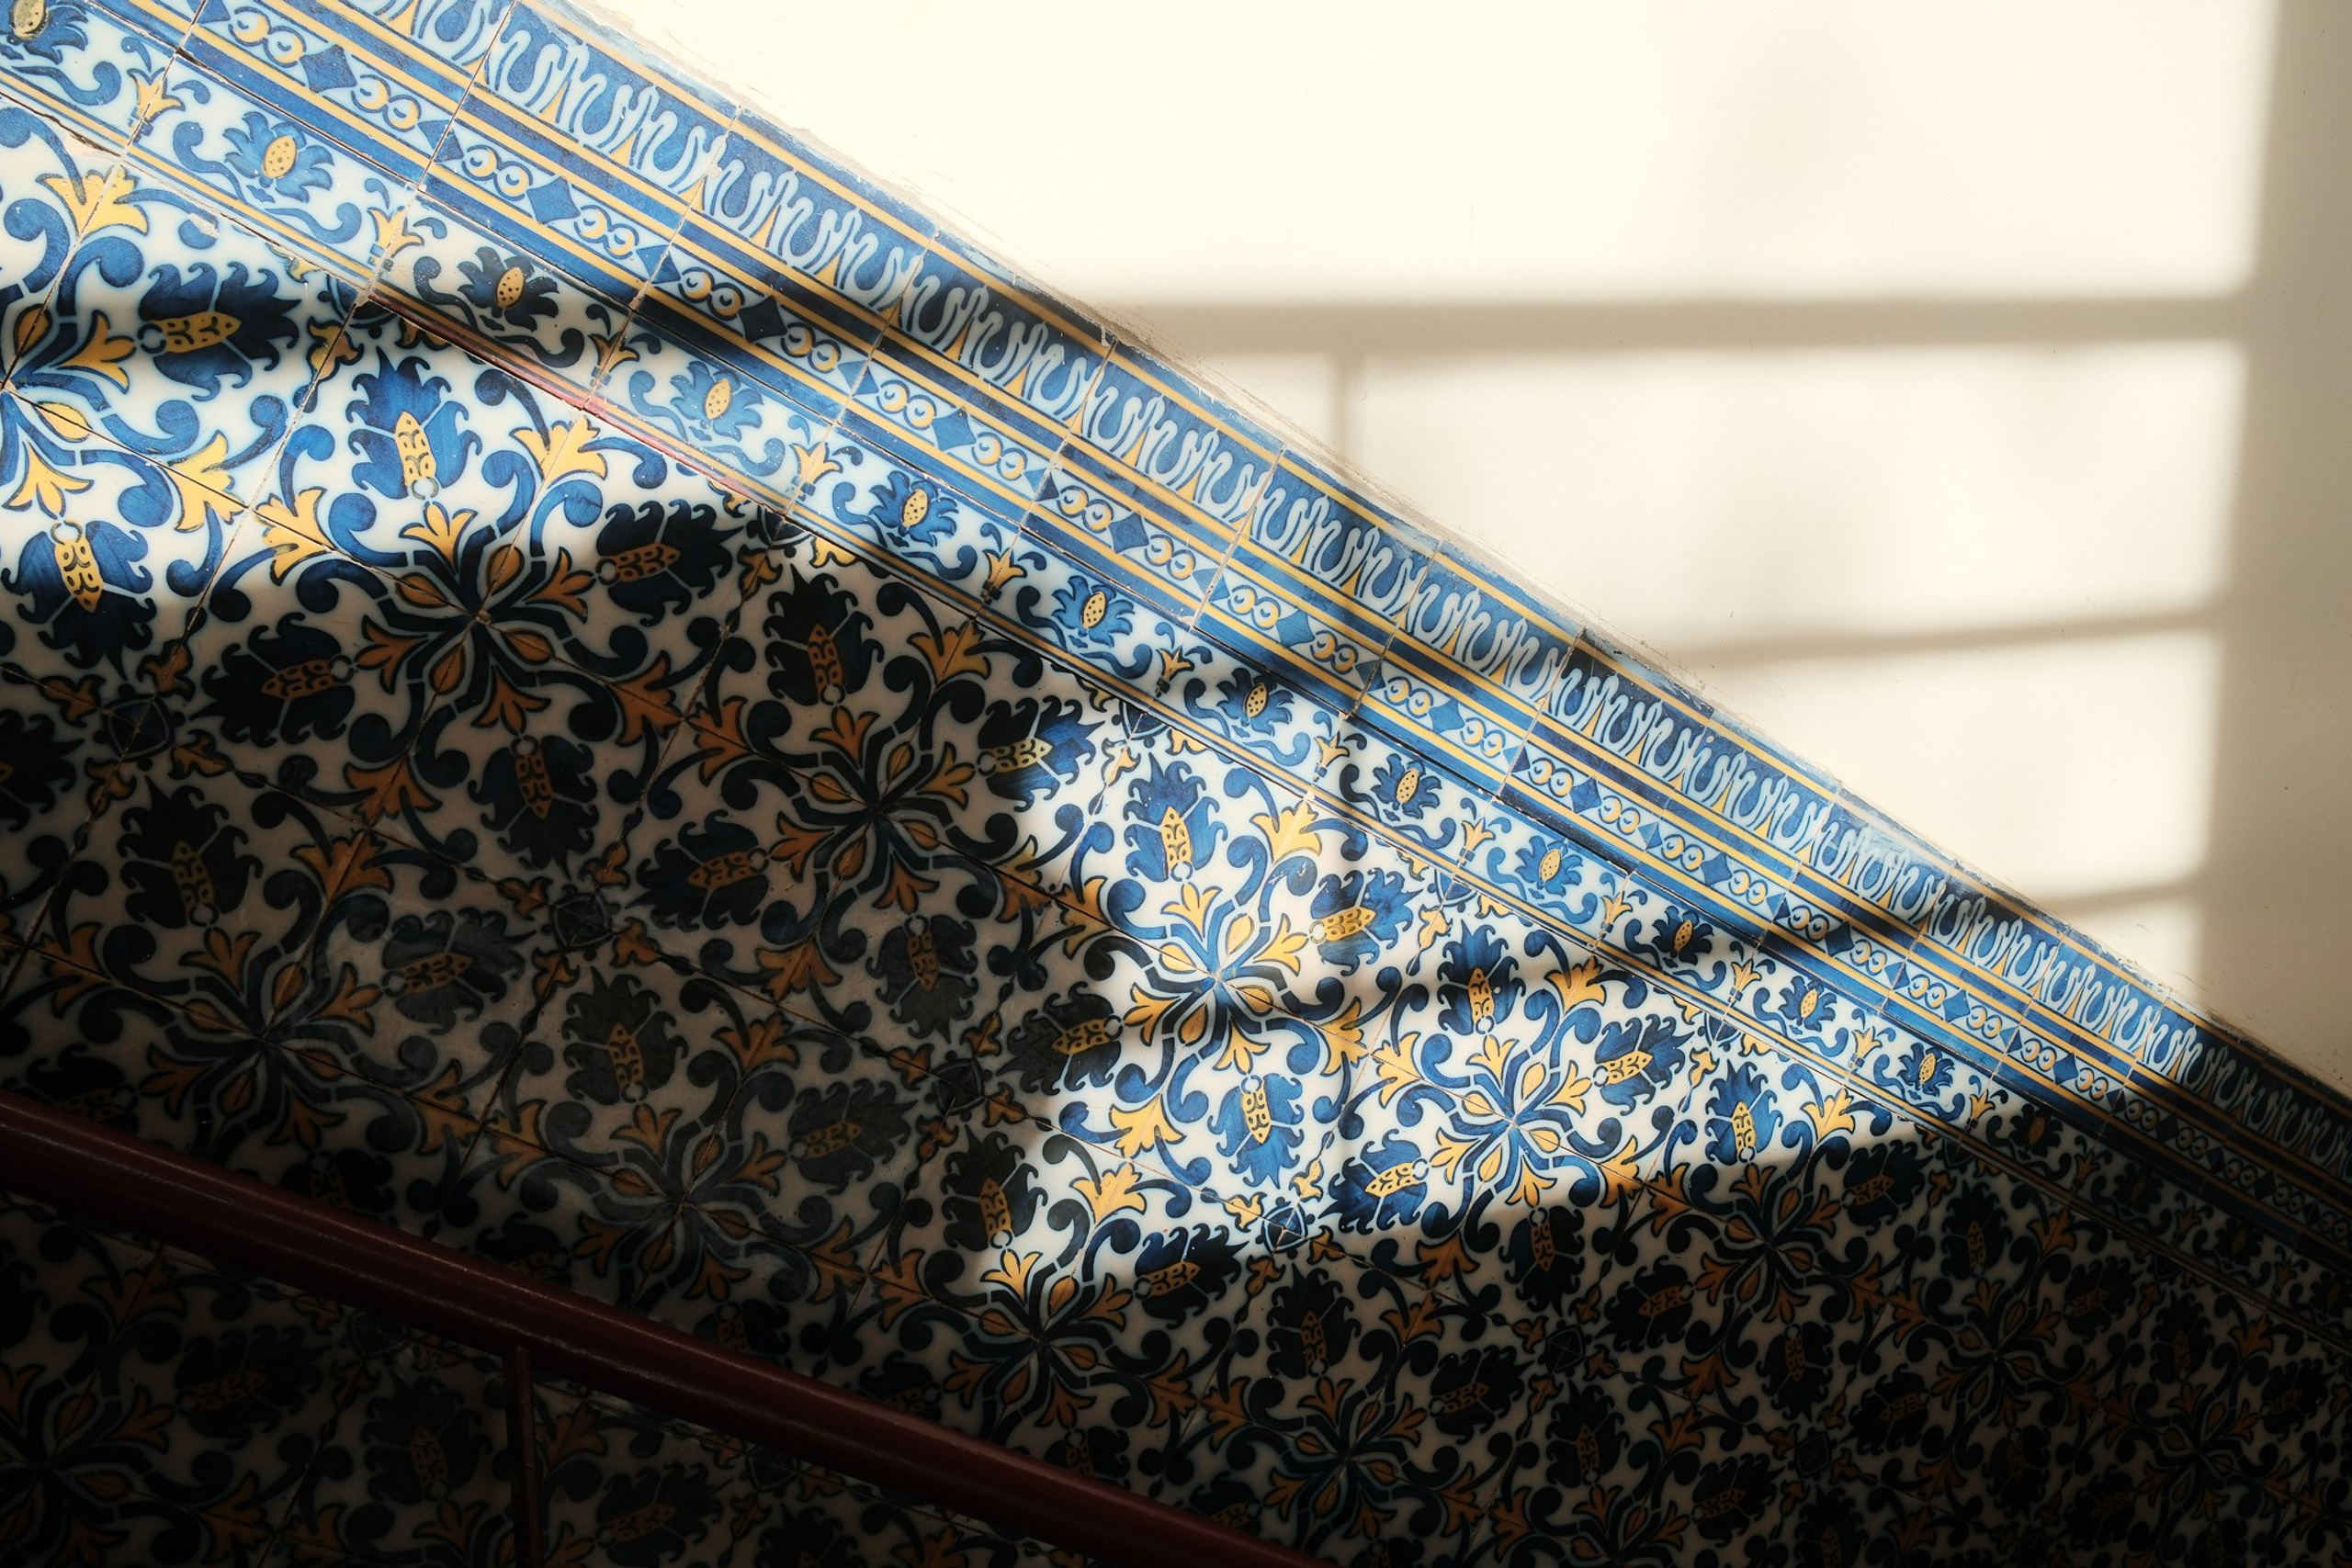
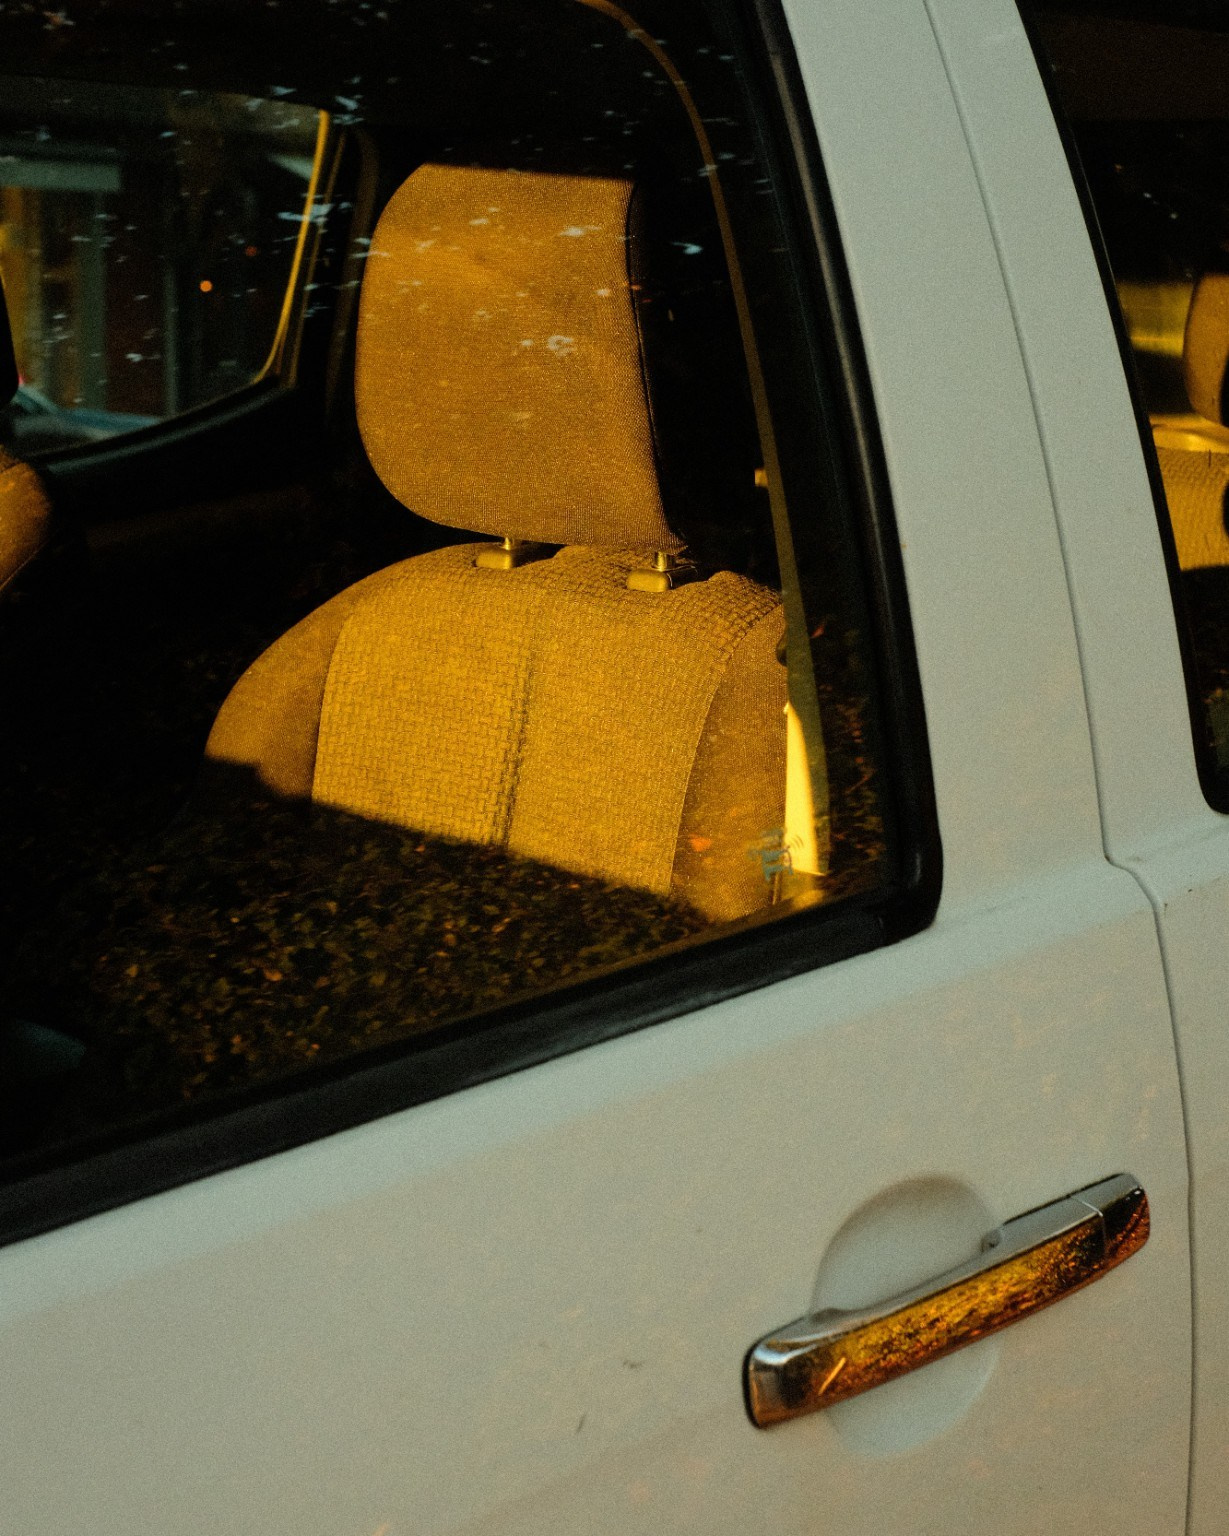
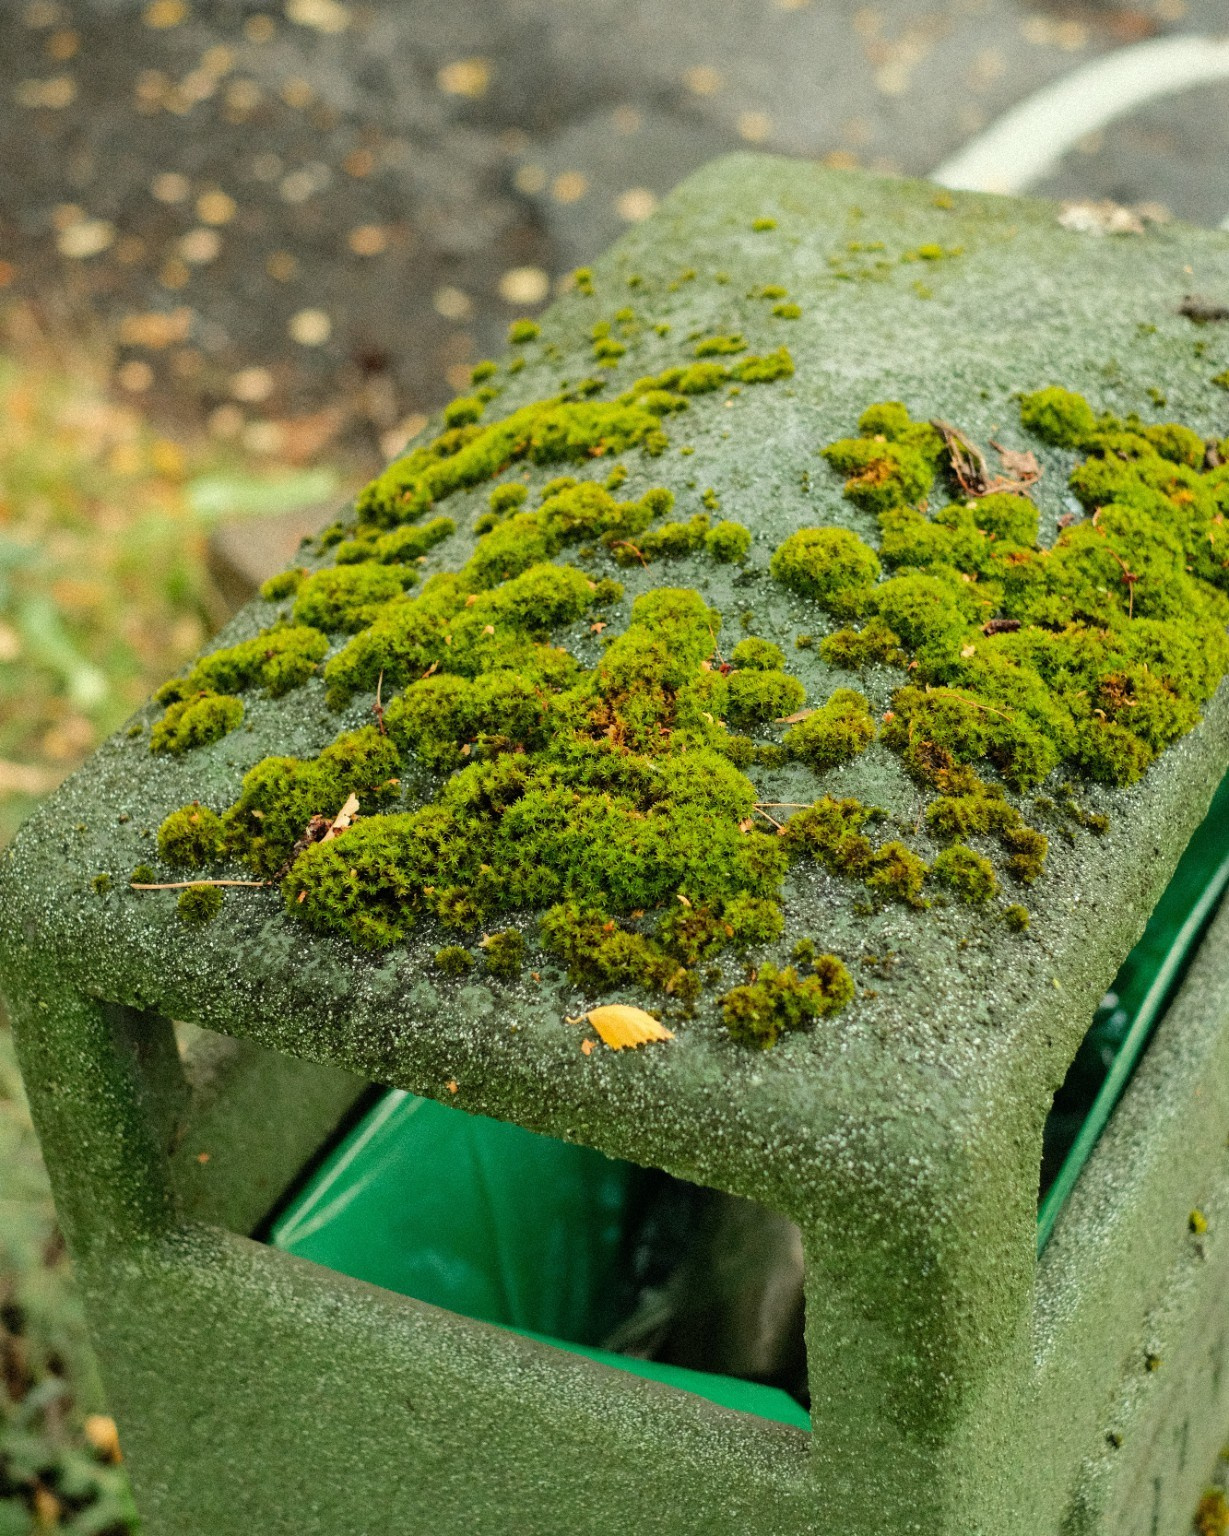
The autumn tree is the obvious example, but I also like what happens in the less obvious frames. Moss on a bin lid, a green shopfront and the light falling onto a van seat all show a different side of the same settings.
Provia Slide is the name of this custom recipe. It uses Fujifilm’s Provia simulation as its base, with further changes to colour, white balance and tone.
The Provia Slide recipe settings
I have this recipe recorded as C7. Here are the settings for the X-Pro2:
- Film Simulation: Provia
- Dynamic Range: DR200
- White Balance: Fluorescent 1
- White Balance Shift: Red +1, Blue -6
- Highlight: -1
- Shadow: +1
- Color: +3
- Sharpness: -1
- Noise Reduction: -4
- Grain Effect: Weak
Provia appears as PROVIA/STANDARD in the camera menu. On the X-Pro2, DR200 requires ISO 400 or above. This recipe does not specify a fixed exposure-compensation value or an Auto ISO ceiling.
How this recipe handles colour
The Provia base gives me a different starting point from the Classic Chrome recipes I have been using. Here, Color +3 adds more saturation. The Fluorescent 1 white balance and Red +1 / Blue -6 shift also change the way the colours sit together.
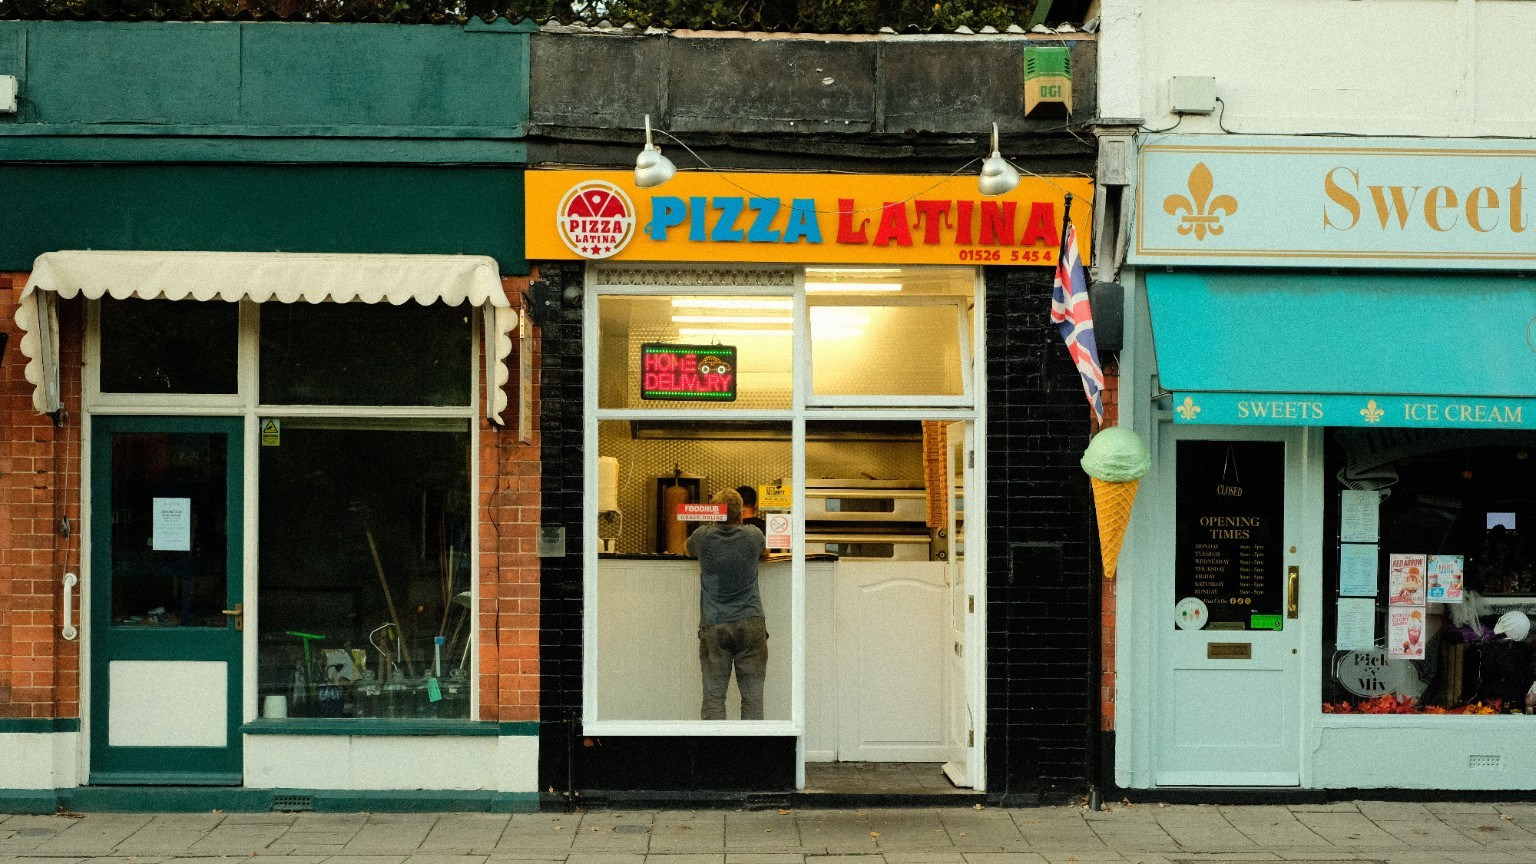
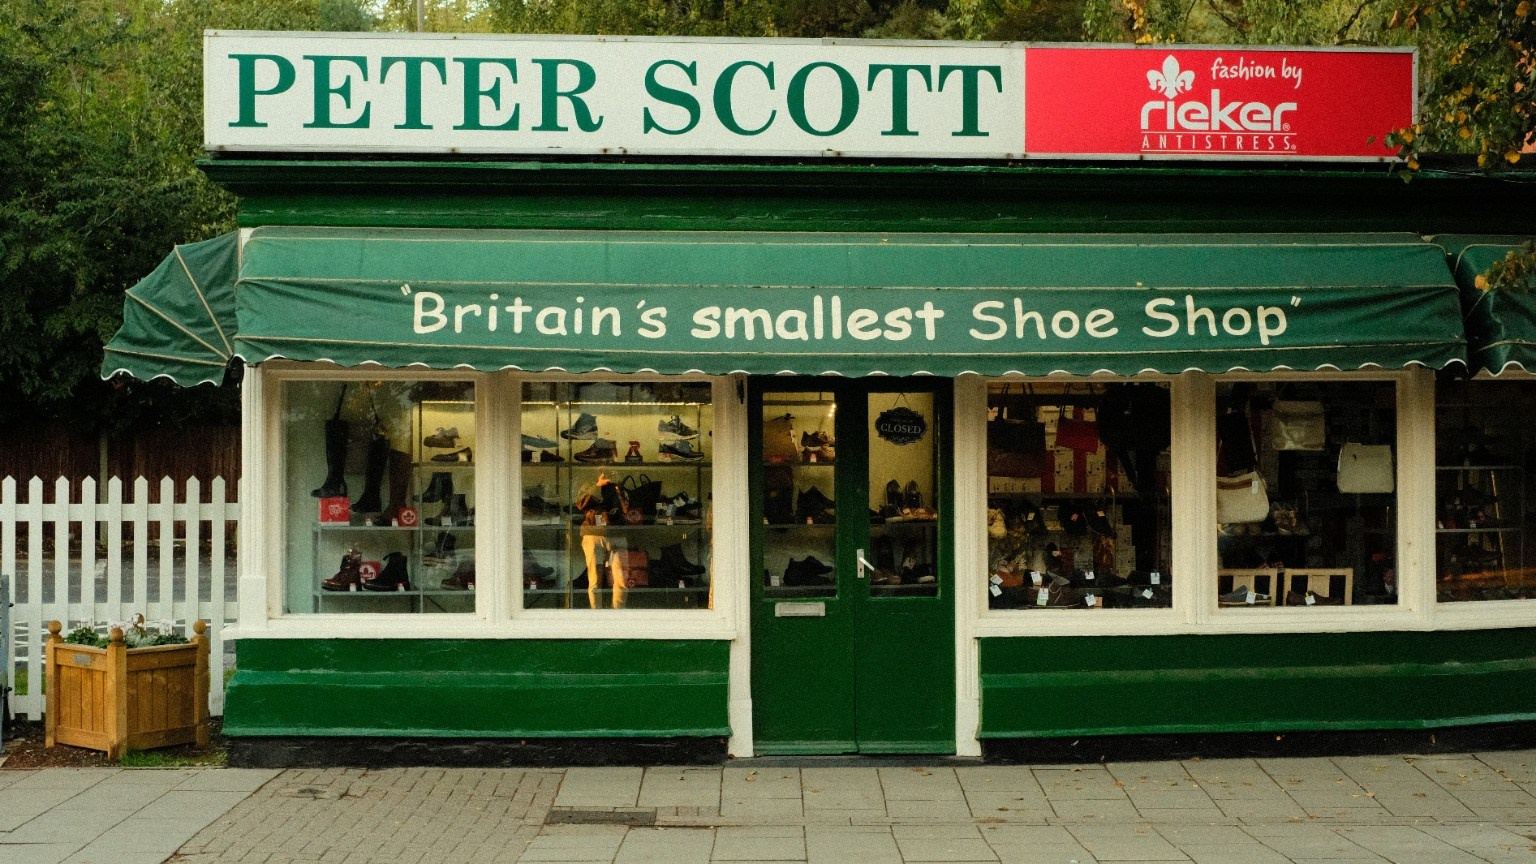
The shopfront is a useful example because it puts green paint, red signage and pale lettering into one frame. The colours have enough presence to carry the photo without needing a complicated subject.
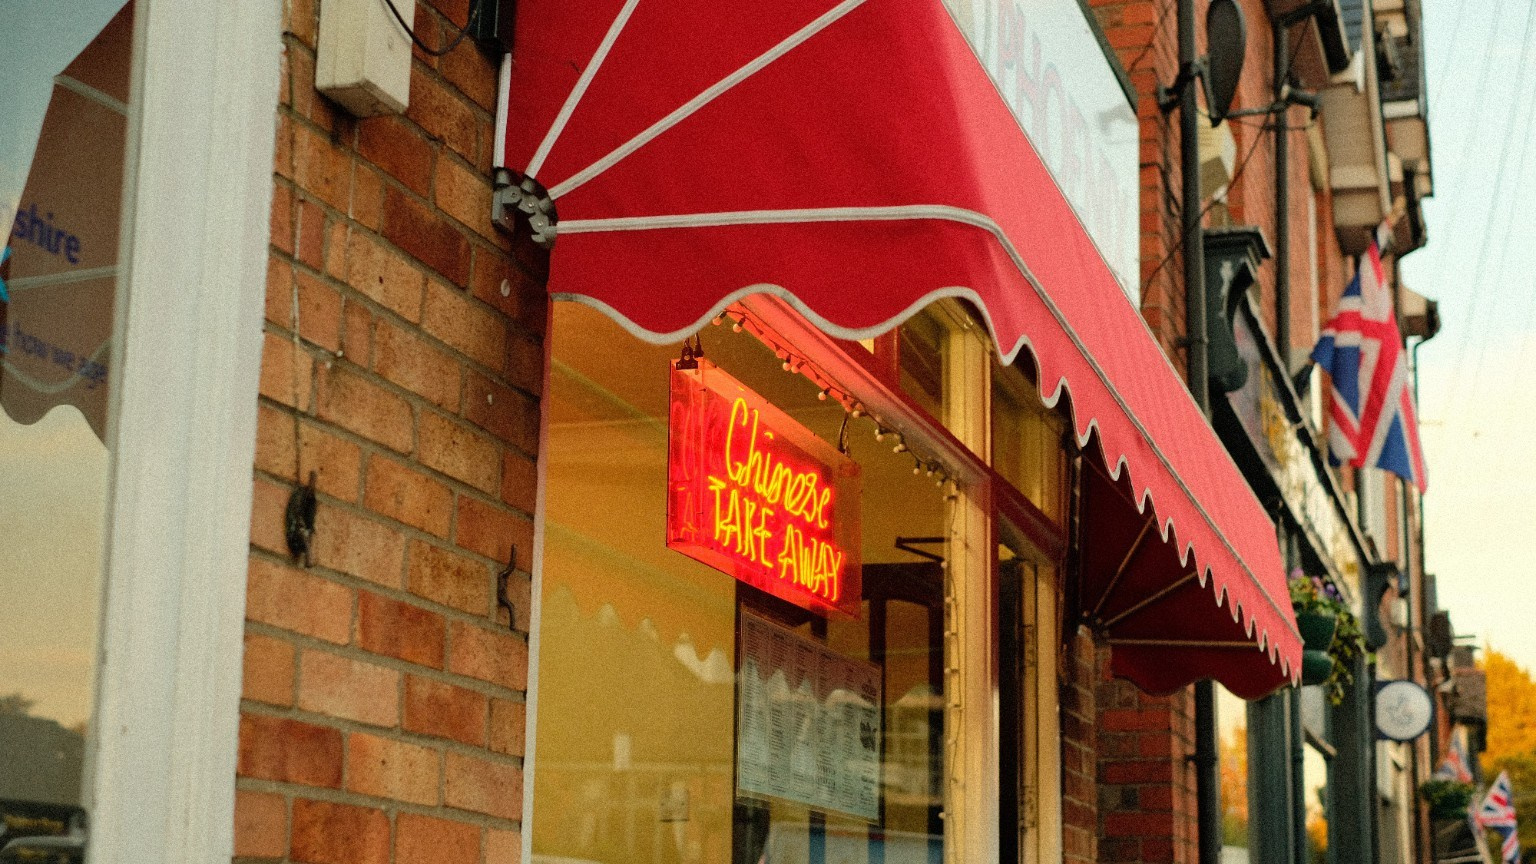
The red awning shows the same thing in a tighter composition. This is why I would use the recipe when colour is a reason for taking the picture, rather than something I want to keep in the background.
Fluorescent 1 is part of the creative colour setup here. You can use the recipe in daylight, but do not expect that white-balance choice to render every scene neutrally. Check how it treats pale surfaces and skin before using it for a set where colour accuracy matters.
The quieter photos matter too
The moss photograph gives the green tones a smaller stage. There is very little happening in the frame, so texture and colour do most of the work. It is a useful reminder that a recipe can suit details as well as broader street scenes.
Highlight -1 reduces the emphasis on the brighter tones, while Shadow +1 gives the darker areas more weight. In the van photograph, the light on the seat feels warm against the dark interior. That separation comes from the scene as well as the settings.
When I would use Provia Slide
I would start with autumn foliage, painted shopfronts and daylight street photography. The recipe suits this set because there is plenty of colour to work with, from the leaves overhead to the signs along the street.
For portraits, I would take a few test frames first. For an interior with several different light sources, I would also check the JPEG before carrying on. The same fixed white balance that gives these photos their character can behave differently under artificial light.
Adding it to a custom bank
On the X-Pro2, open IMAGE QUALITY SETTING > EDIT/SAVE CUSTOM SETTING. Choose a bank, enter the settings and confirm the save. Name it Provia Slide so it is easy to find through SELECT CUSTOM SETTING. Check that the Fluorescent 1 white balance and the shift are correct before you shoot.
I would keep this alongside a quieter Classic Chrome recipe. It gives me another option for days when the colour in front of me is the main reason to stop and take a photo.
If you try it, let me know which subjects suit it for you. My Fujifilm recipe collection has more settings and photo examples if you want another look to compare.

Kodak Gold 200: A Warm Fujifilm Recipe for the X-Pro2

Solis: The Fujifilm Recipe I Used for a Week in Crete


Holiday Radeon