
This Kodak Gold 200 Fujifilm recipe gives my X-Pro2 photos warm colour, blue skies and plenty of depth. I used it with the Fujifilm XF 35mm f/1.4 for this set, photographing a village street, a church and the small details I passed along the way.
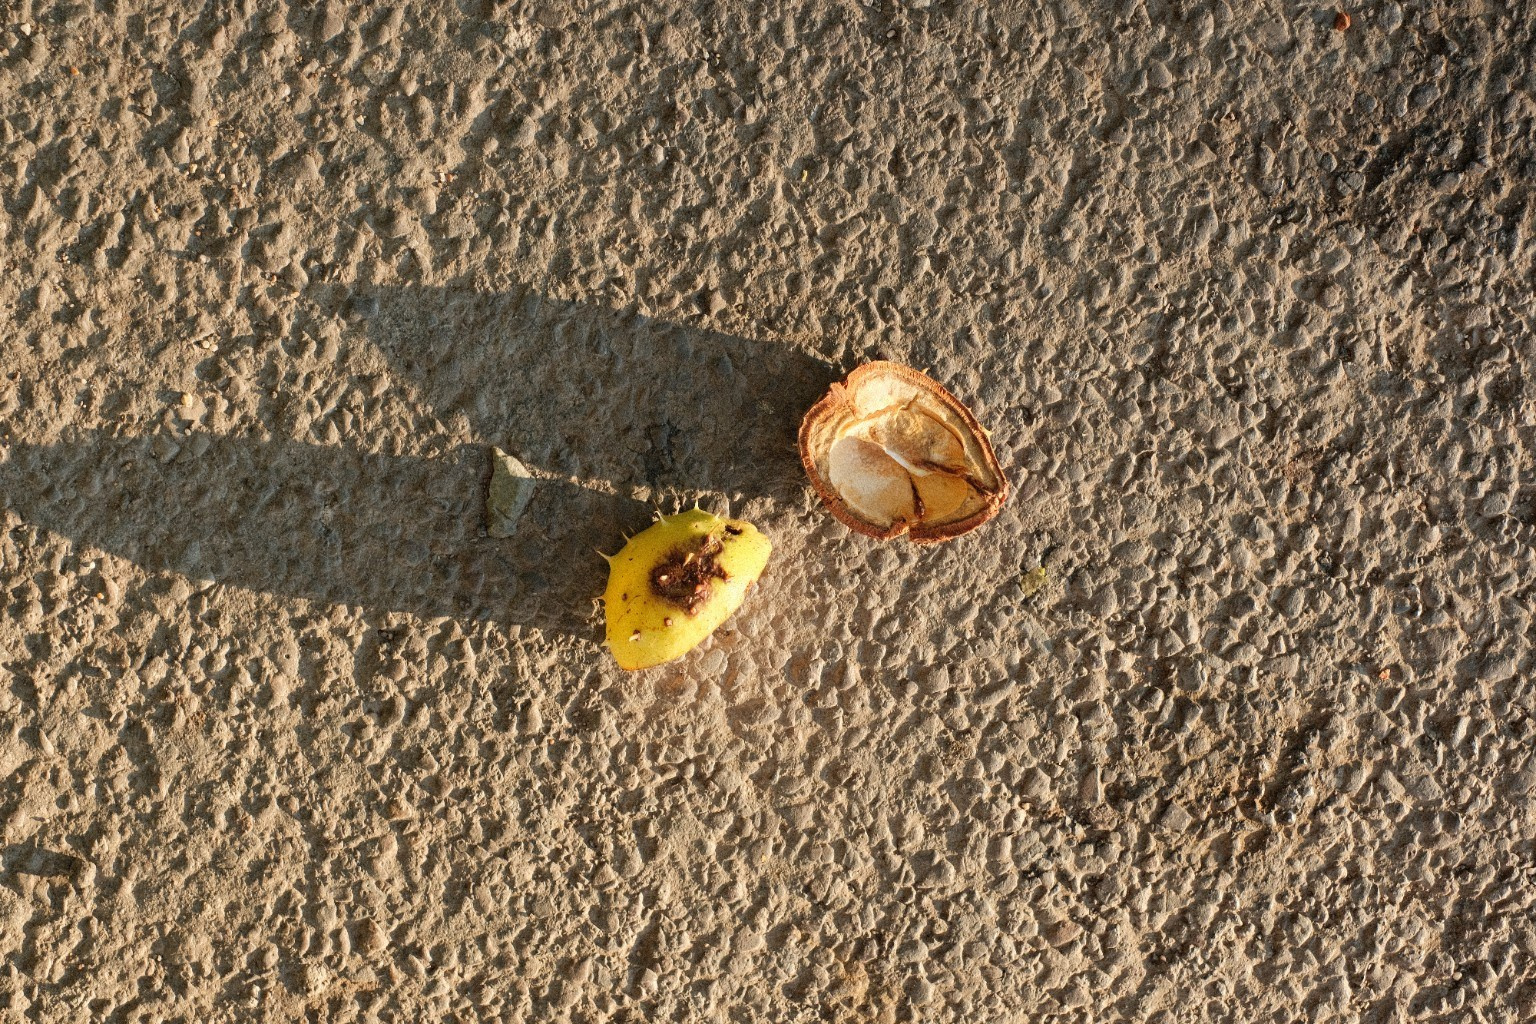
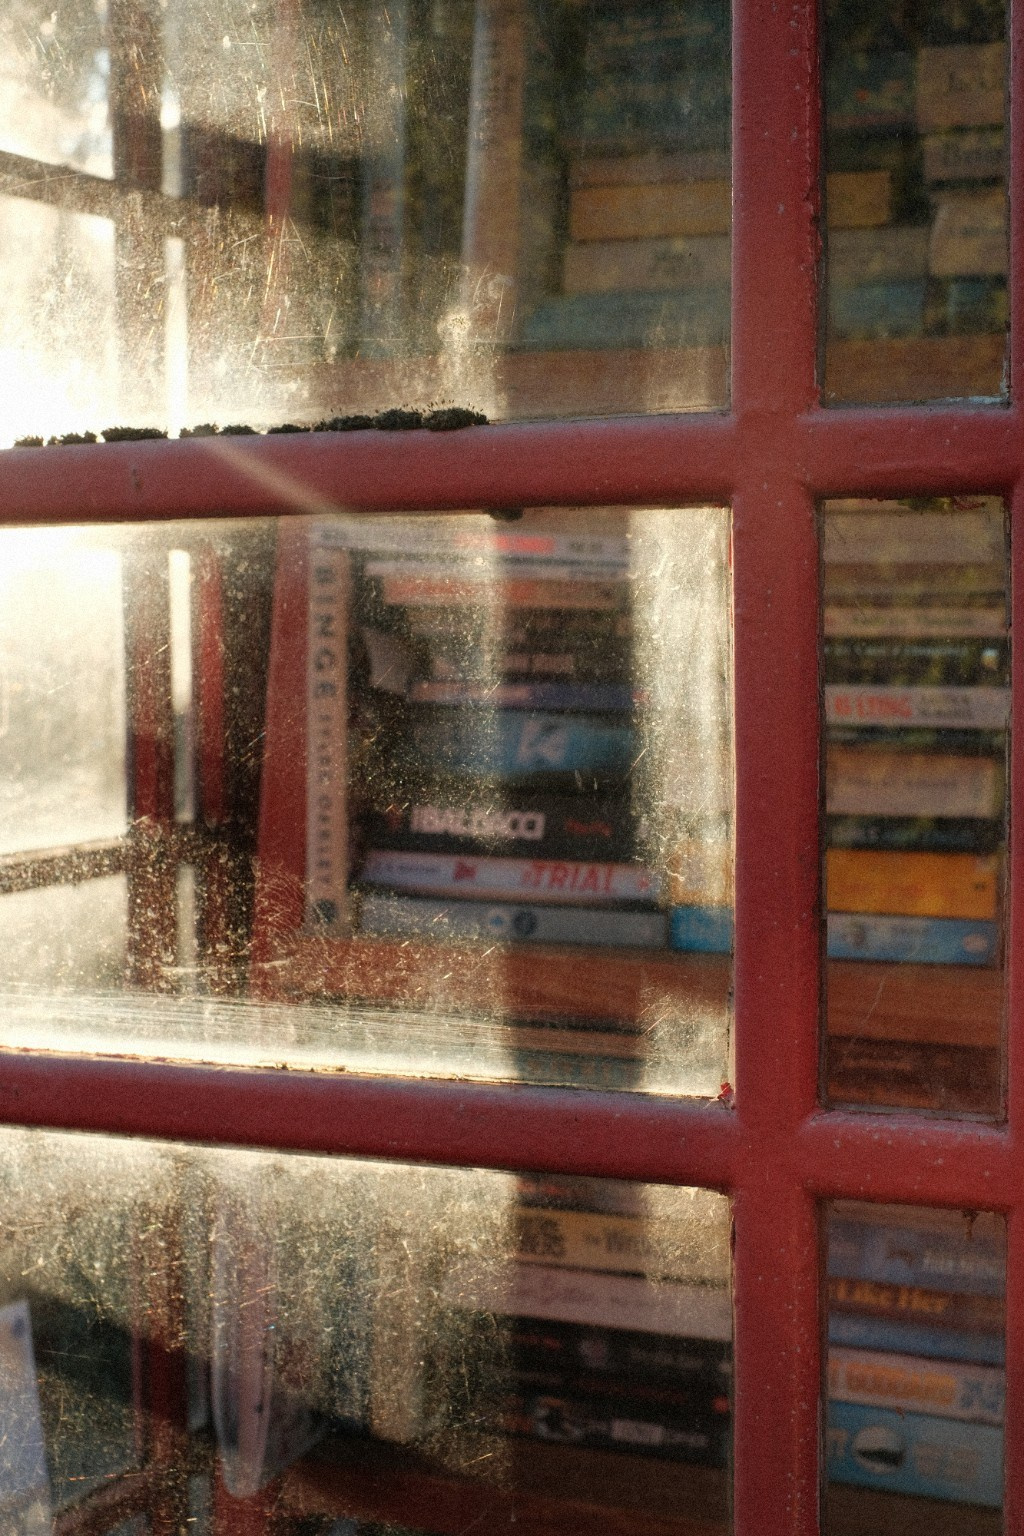
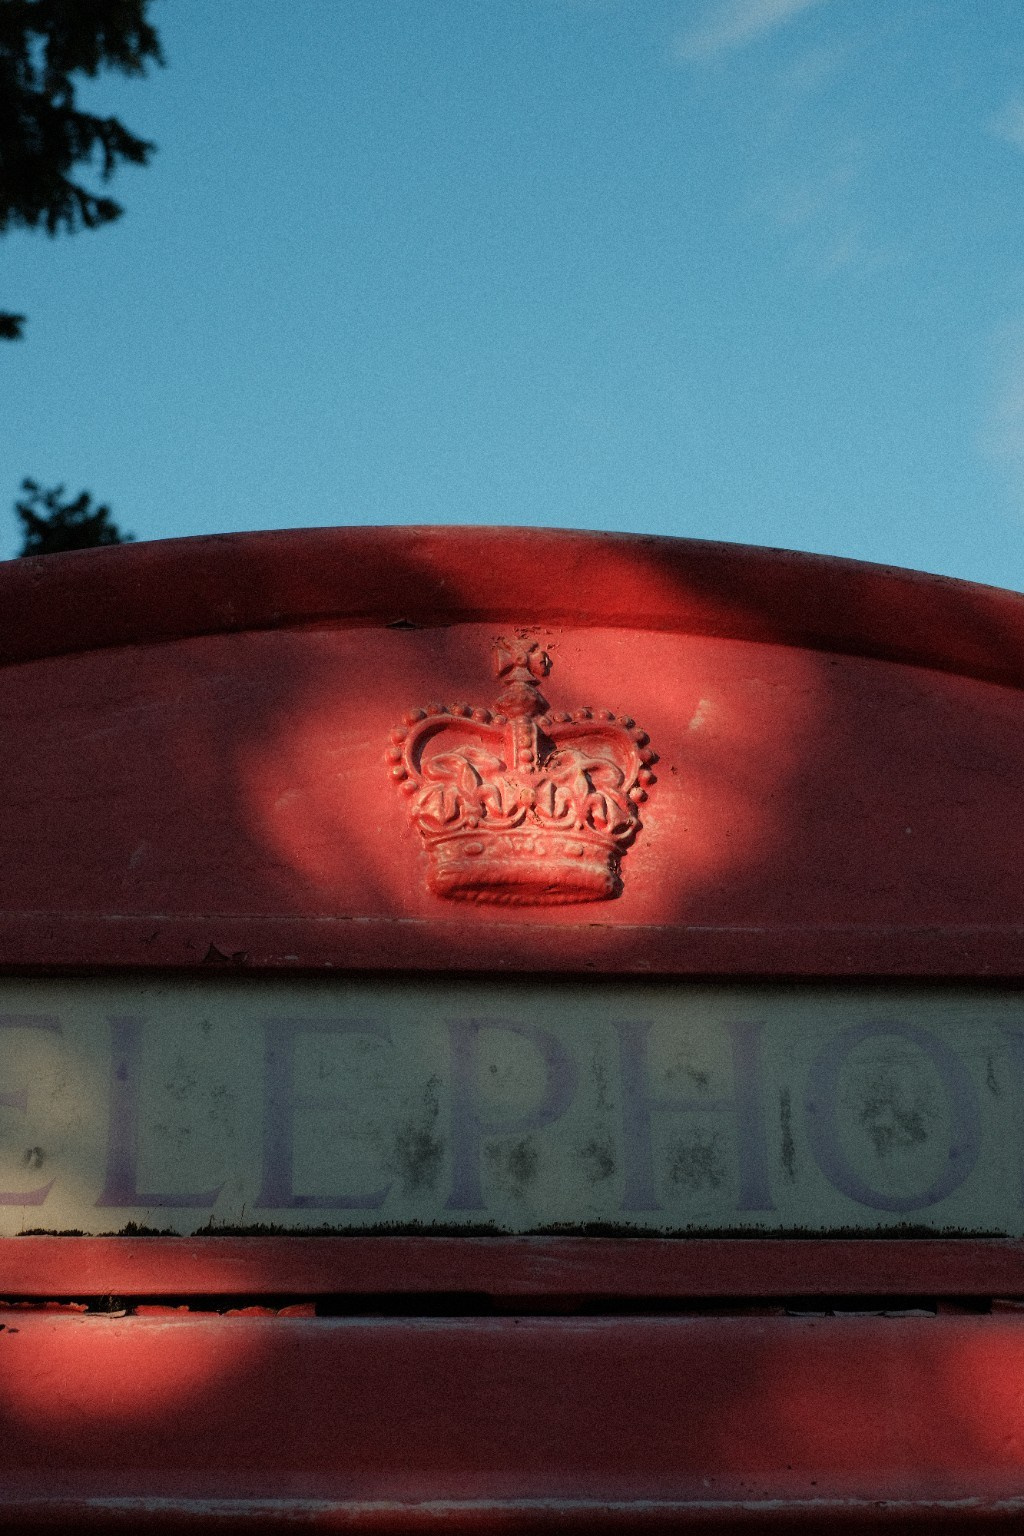
What I like about this set is how ordinary the subjects are. A post box, a telephone box window and a couple of fallen conkers all give the recipe something to work with. You do not need an impressive location to see what the colour settings are doing.
The name describes the look I am aiming for with these settings. It is a custom digital recipe inspired by Kodak Gold 200, rather than a claim that the X-Pro2 reproduces the film exactly.
The Kodak Gold 200 recipe settings
I have this version saved as C2 on my X-Pro2. These are the settings behind the photos:
- Film Simulation: Classic Chrome
- Dynamic Range: DR200
- White Balance: Daylight
- White Balance Shift: Red +4, Blue -5
- Highlight: -1
- Shadow: +1
- Color: +3
- Sharpness: -1
- Noise Reduction: -4
- Grain Effect: Weak
On the X-Pro2, DR200 needs ISO 400 or above. ISO and exposure compensation are not fixed values in this recipe, so choose them for the light in front of you.
What the photos show
The red post box is one of the clearest examples. The red has plenty of colour, while the shaded front keeps some weight. Against the blue sky, it makes a simple frame without needing much else in it.
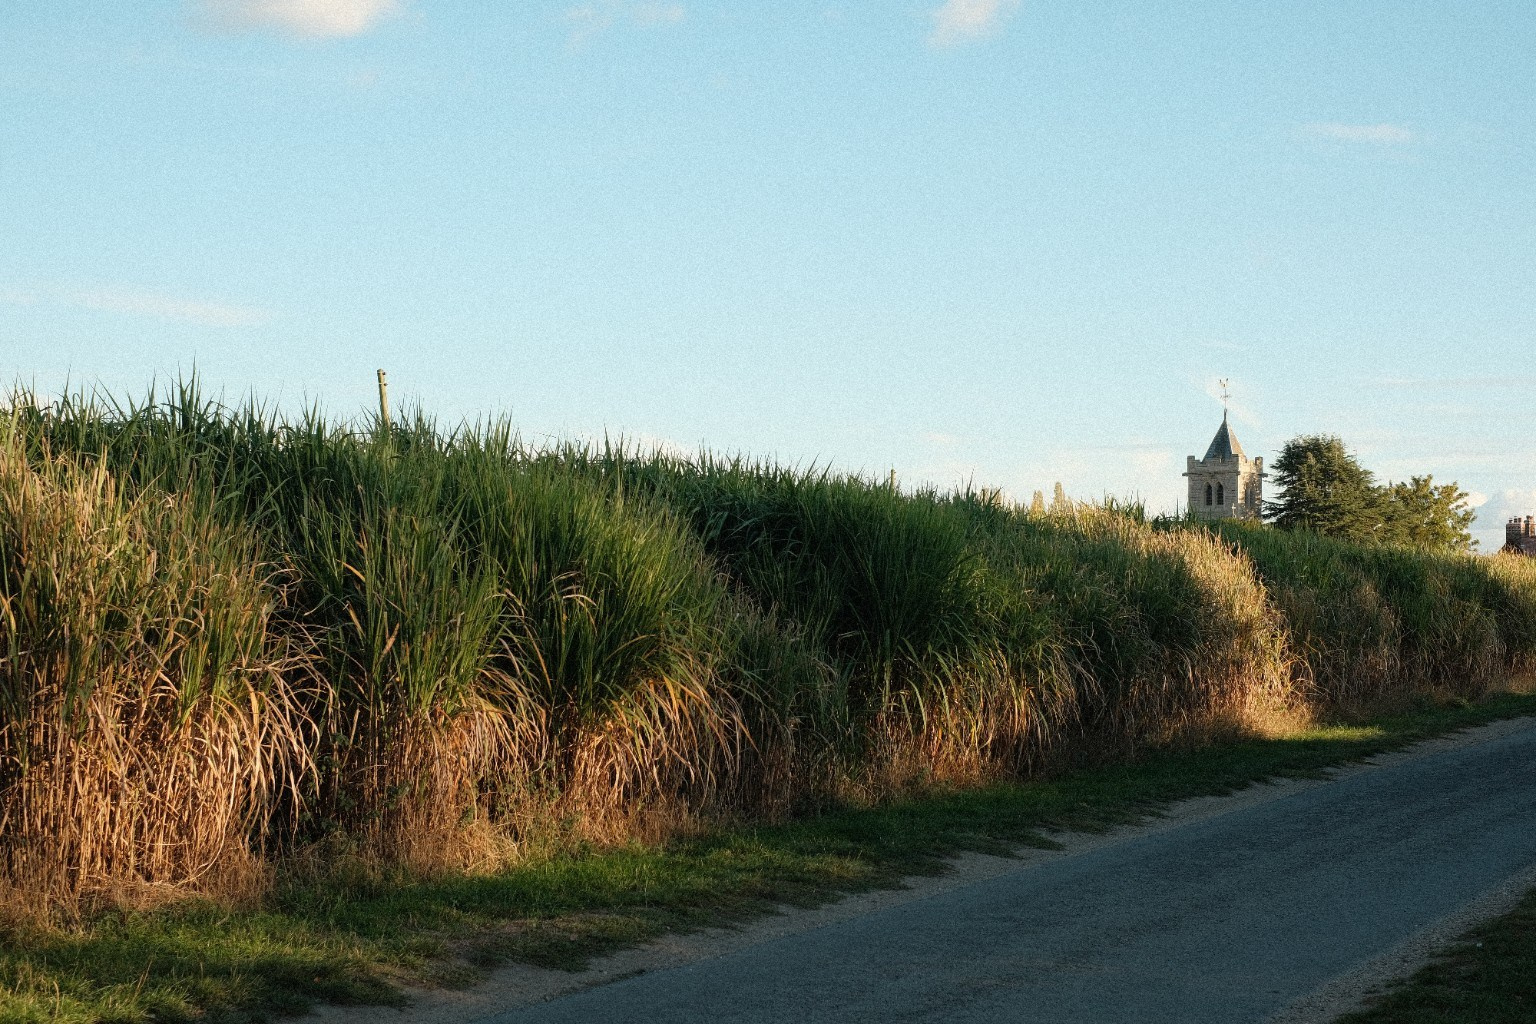
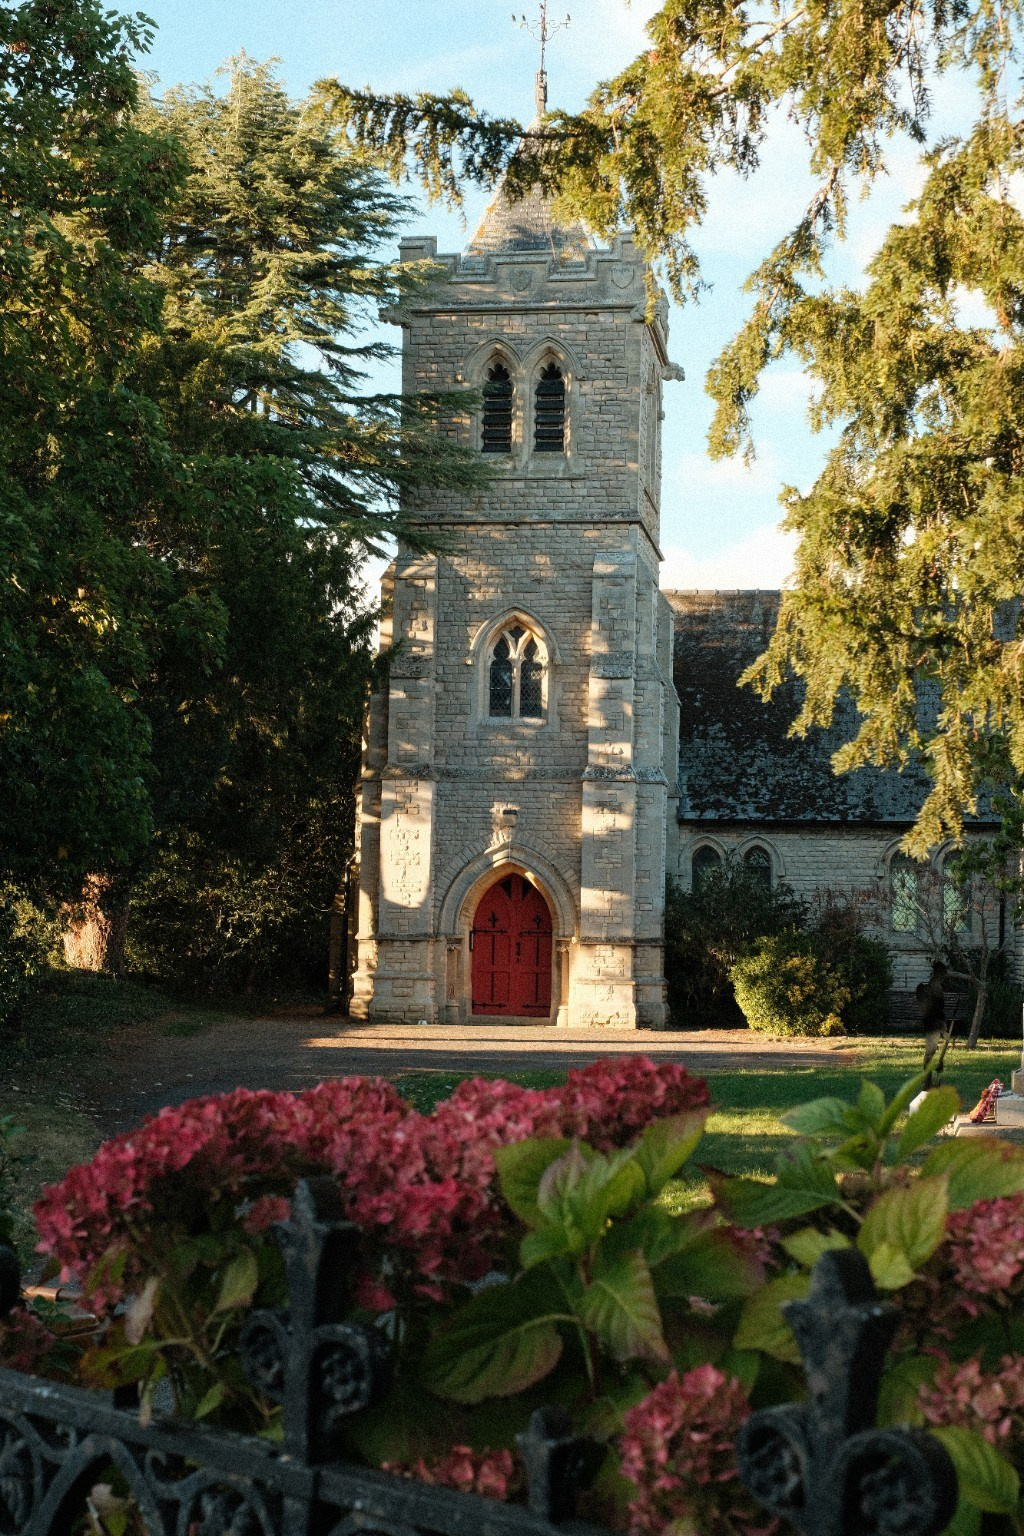
Classic Chrome supplies the starting point. Color +3 brings more colour into the JPEG, while the Daylight balance and Red +4 / Blue -5 shift push the overall appearance towards warmth. In this set, that works particularly well with sunlit grass, red paint and the church stone.
Highlight -1 eases the brighter tones, and Shadow +1 gives shaded areas a little more depth. You can see that difference in the lane photograph, where the grass catches the light but the road feels darker. DR200 helps with bright areas, although it will not recover detail you have already overexposed.
Where I would use it
I would reach for this Kodak Gold 200 recipe on a photo walk with warm daylight, painted details and a clear sky. The evening light in these photos suits it well. It would also be a useful starting point for a sunny day out or a seaside walk.
Strong midday light still needs care. Look at the brightest part of your frame and adjust your exposure if it loses detail. The warm white balance can also become quite strong under orange indoor lighting, so I would test a few frames before leaving it on for a whole evening indoors.
Saving the recipe on your X-Pro2
Open IMAGE QUALITY SETTING, choose EDIT/SAVE CUSTOM SETTING and select a free bank. Enter the settings above, confirm the save and give the bank a name you will recognise. You can recall it through SELECT CUSTOM SETTING. Check the white-balance shift when switching between recipes.
If you want the recipe look in your files, shoot JPEG or RAW + JPEG. Keeping a RAW file alongside the JPEG also gives you another option if you want to change the colour later.
Why I would keep this recipe
For me, this set works because the warmth connects the photos without making every subject look the same. The telephone box glass feels different from the holly leaves, but they still belong together.
If you try the Kodak Gold 200 recipe, start with a few everyday subjects and see how it handles your light. You can find more settings and photo examples in my Fujifilm recipe collection.


Solis: The Fujifilm Recipe I Used for a Week in Crete


Holiday Radeon

Portra 400: A Fujifilm X-Pro2 Recipe for Street Photography
